Expert Advice on Drywall Plastering Repair: How to Achieve a Flawless Finish
BA
Understanding the Basics of Drywall Plastering Repair
When it comes to home improvement, achieving a flawless finish in drywall plastering is a task that many find challenging. However, with the right approach and techniques, you can transform your walls into smooth surfaces. The key lies in understanding the basics and being patient throughout the process.
Drywall repair involves fixing dents, holes, and cracks to prepare the surface for painting or wallpapering. Whether you're a DIY enthusiast or hiring a professional, knowing the essentials can save time and ensure a high-quality finish.
Gathering the Necessary Tools and Materials
Before starting your drywall plastering repair, assembling the right tools and materials is crucial. Here's a list of essentials:
- Joint compound
- Putty knives of various sizes
- Sandpaper or sanding sponge
- Drywall tape
- Paint primer
Having these tools on hand will make the repair process smoother and more efficient. Remember, quality tools can significantly affect the outcome of your work.
Step-by-Step Repair Process
Now that you have your tools ready, it's time to dive into the repair process. Follow these steps to ensure a seamless finish:
- Prepare the Area: Clear the area of dust and loose debris. Use a damp cloth to wipe down the surface.
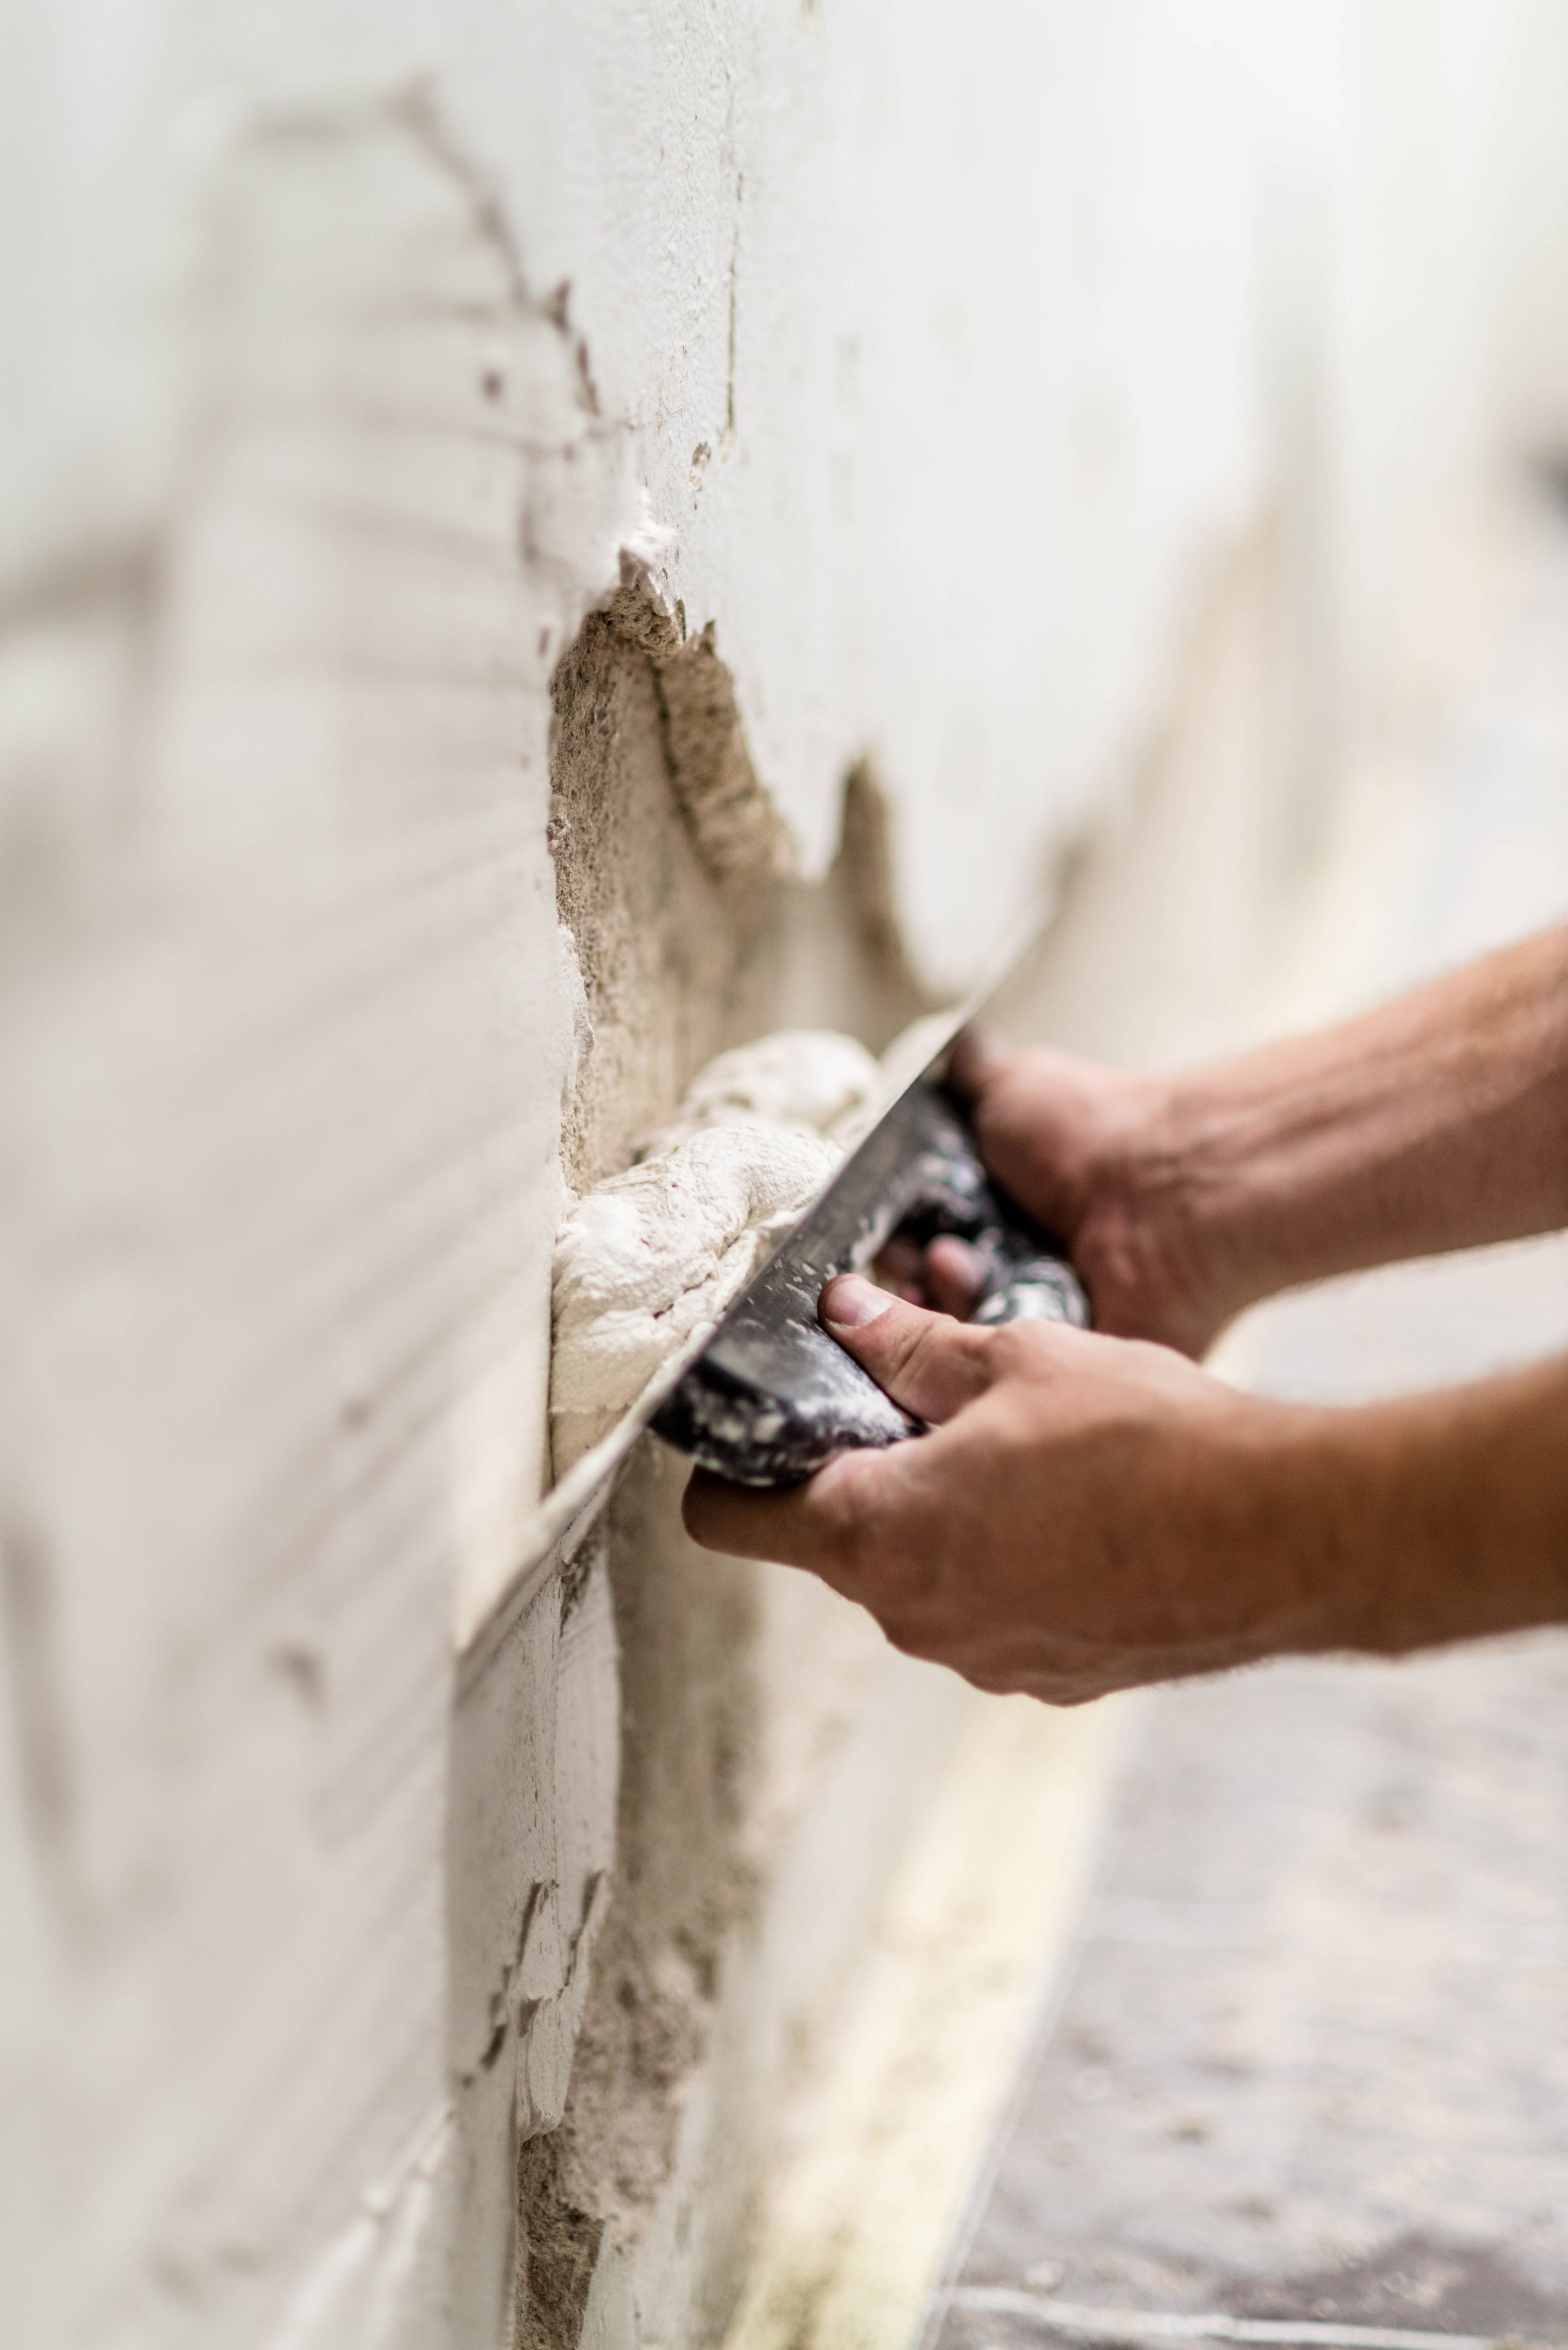
- Apply Joint Compound: Use a putty knife to spread a thin layer of joint compound over the damaged area. Let it dry completely.
- Add Drywall Tape: Place drywall tape over the joint compound to reinforce the repair. Apply another thin layer of joint compound over the tape.
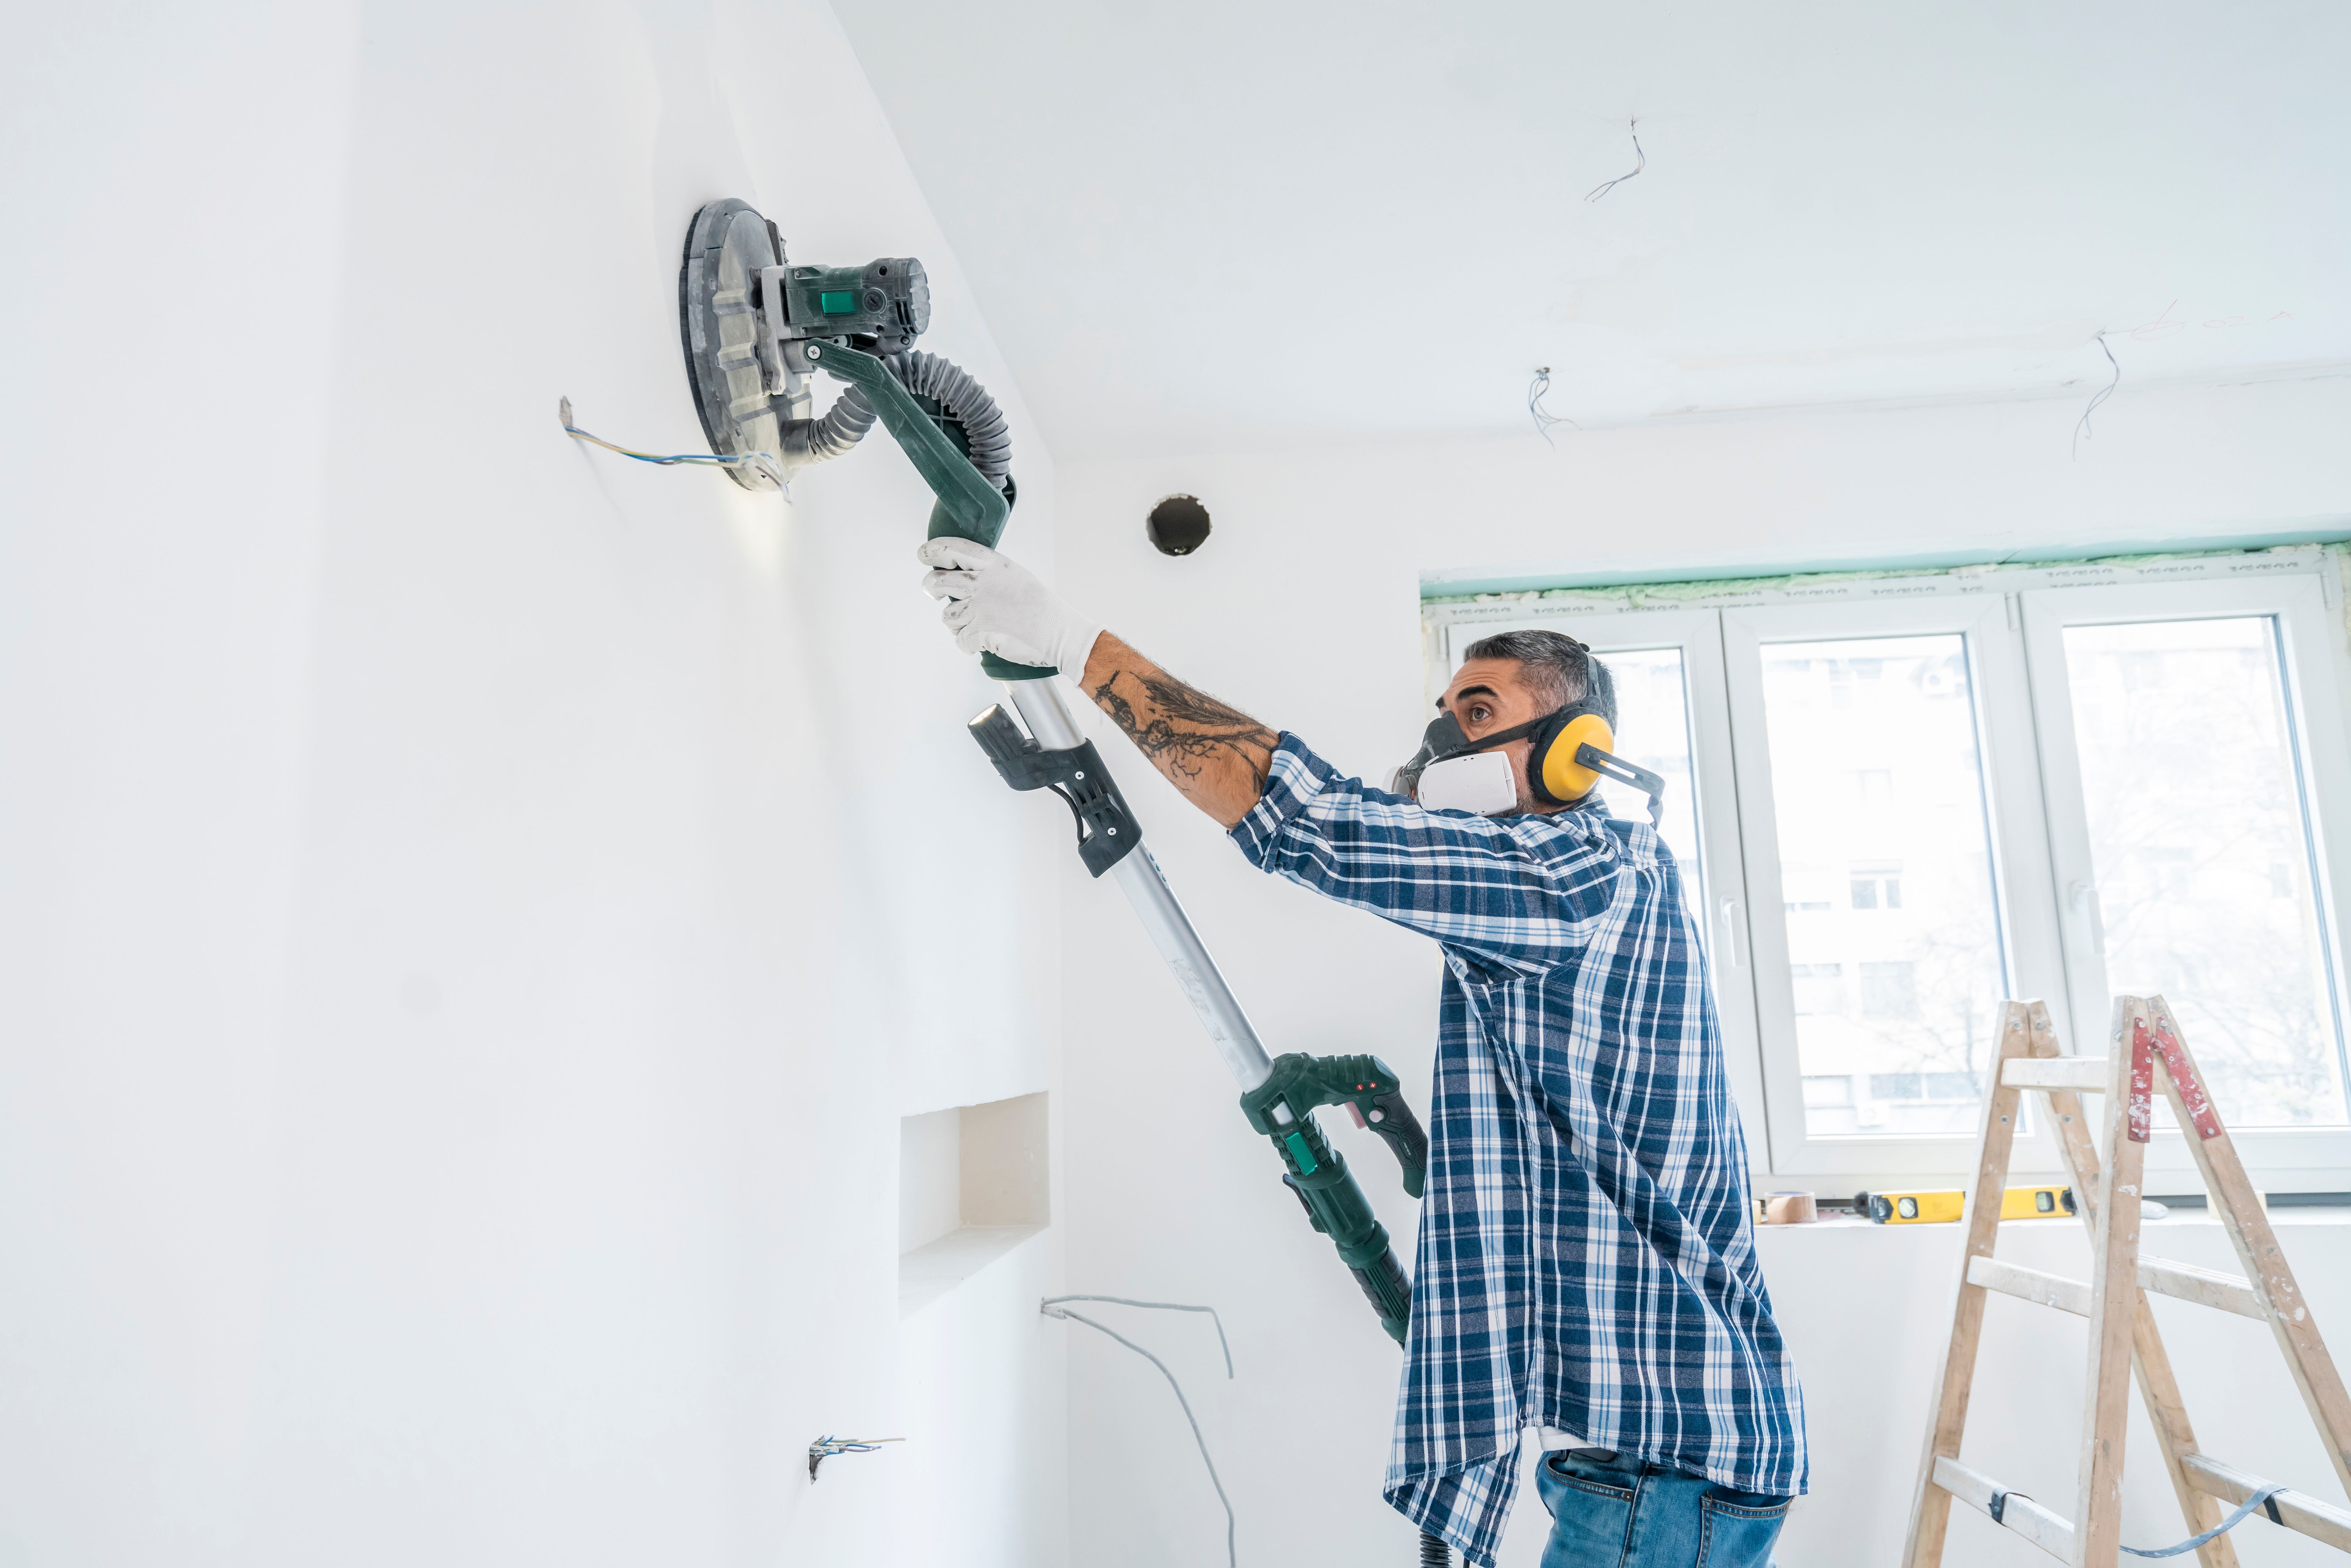
- Sand Smooth: Once dry, sand the area until it is smooth and flush with the surrounding wall.
Tackling Common Challenges
Even with careful preparation, you might encounter some common challenges during drywall plastering repair. For instance, achieving a perfectly smooth surface can be difficult if the joint compound is applied too thickly. To avoid this, apply compound in thin layers and allow adequate drying time between applications.
Another issue is bubbles forming under the drywall tape. To prevent this, press the tape firmly into the compound and ensure there are no air pockets.
Finishing Touches for a Flawless Look
The final step in drywall plastering repair is applying a coat of primer before painting. The primer helps seal the joint compound and provides an even base for paint or wallpaper. Choose a high-quality primer for best results.
Once the primer is dry, you can paint or apply wallpaper as desired. With these expert tips and techniques, you can achieve a professional-looking finish that enhances your home's interior.
Remember, patience and attention to detail are your best allies in drywall plastering repair. By following these steps, you'll not only improve your wall’s appearance but also increase the longevity of your repairs.