DIY Tiling Tips: How to Revamp Your Space with Ease
BA
Introduction to DIY Tiling
Revamping your space with a fresh set of tiles is an exciting and rewarding project. Whether you're looking to update your kitchen backsplash, bathroom floor, or any other area, tiling can be a cost-effective way to transform your environment. With some basic tools and a little patience, you can achieve professional-looking results. Here are some essential DIY tiling tips to help you get started.
Choosing the Right Tiles
Before beginning your tiling project, it's crucial to select the right tiles for your space. Consider factors such as durability, slip resistance, and style. Porcelain and ceramic tiles are popular choices for their versatility and resilience. For areas with high moisture, like bathrooms, opt for tiles with a non-slip surface.
Remember to calculate the area you plan to tile and purchase slightly more material than needed to account for mistakes or future repairs. It's always better to have extra tiles from the same batch to ensure color consistency.
Preparing Your Surface
A successful tiling project starts with proper surface preparation. Ensure the area is clean, dry, and free of any previous adhesive or debris. Use a level to check for evenness; any dips or bumps should be sanded or filled accordingly. If you're tiling over an existing surface, consider using a primer to enhance adhesion.
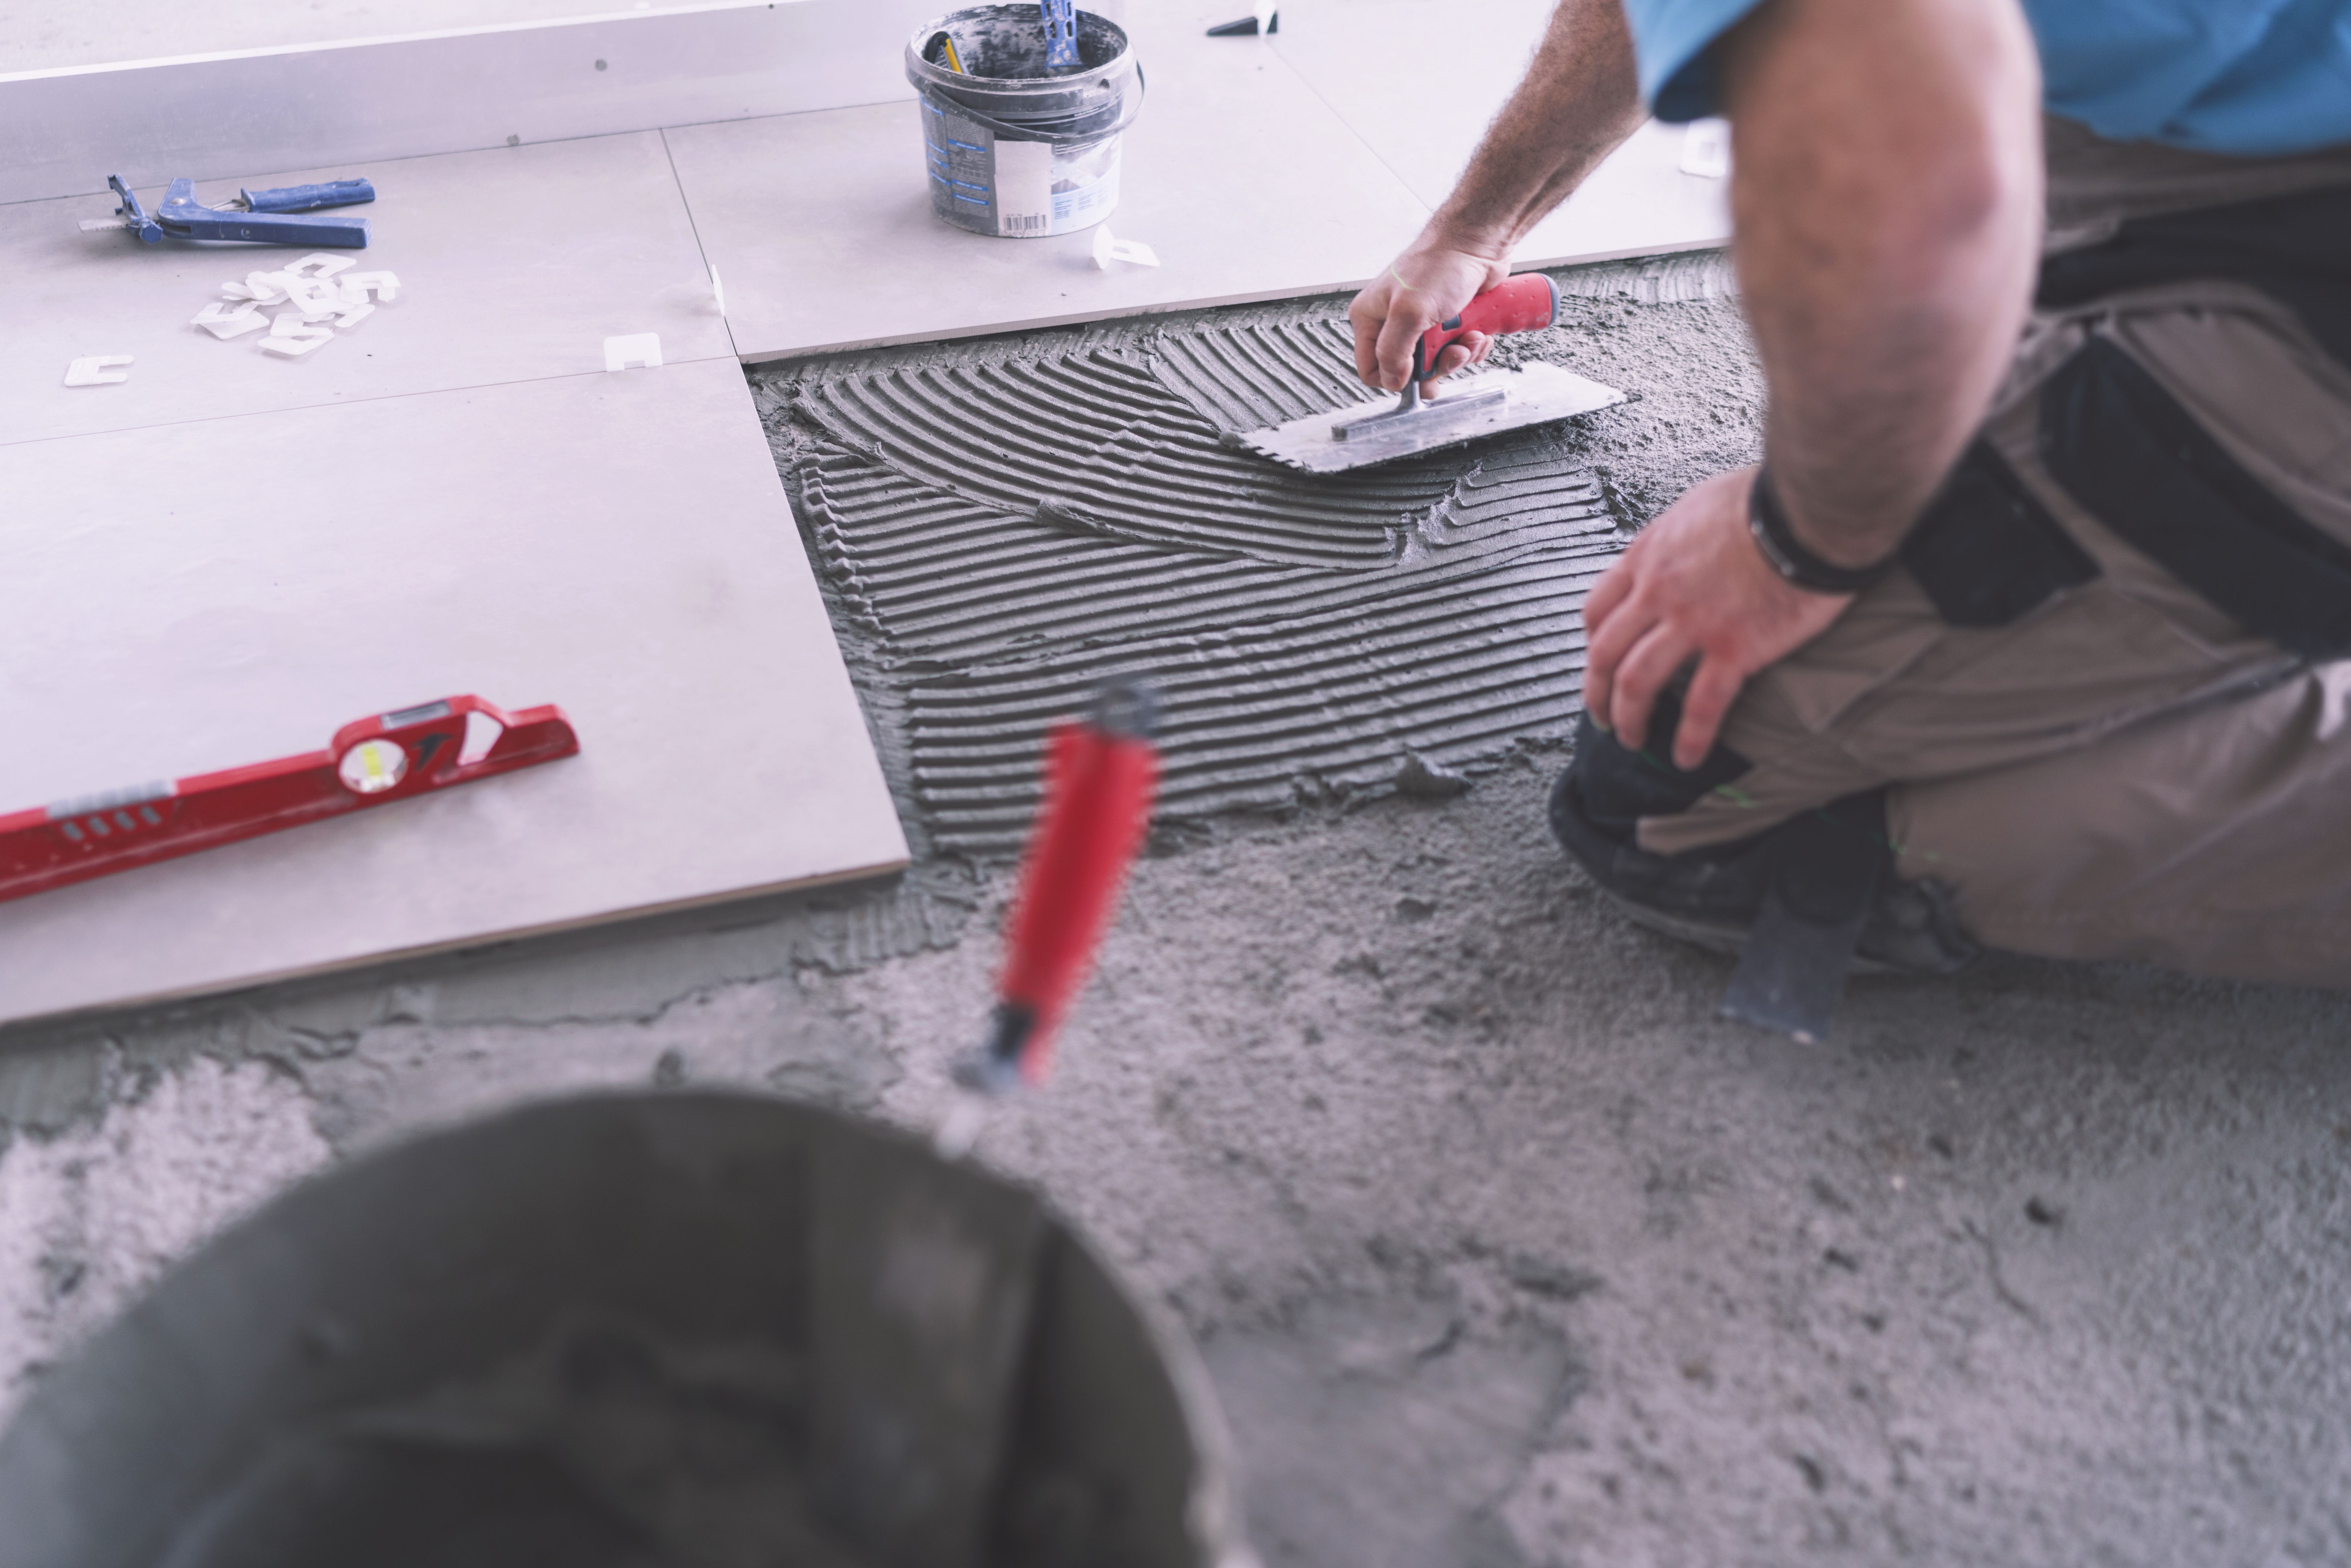
Gathering Your Tools
Having the right tools on hand will make your tiling project much smoother. Essential tools include:
- Tile cutter or wet saw
- Notched trowel
- Tile spacers
- Level
- Grout float
- Sponge and bucket
Investing in quality tools will ensure precision and efficiency in your work.
Laying the Tiles
Once your surface is ready and tools are prepared, it's time to lay the tiles. Start by applying a thin layer of adhesive with your notched trowel, working in small sections to prevent it from drying out. Press each tile firmly into place, using tile spacers to maintain even spacing between them.
Cutting and Fitting Tiles
Inevitably, you'll need to cut some tiles to fit around edges and corners. Use a tile cutter or wet saw for precise cuts. Always measure twice before cutting to avoid mistakes. For intricate cuts, such as those around fixtures, use a tile nipper or file to achieve the desired shape.
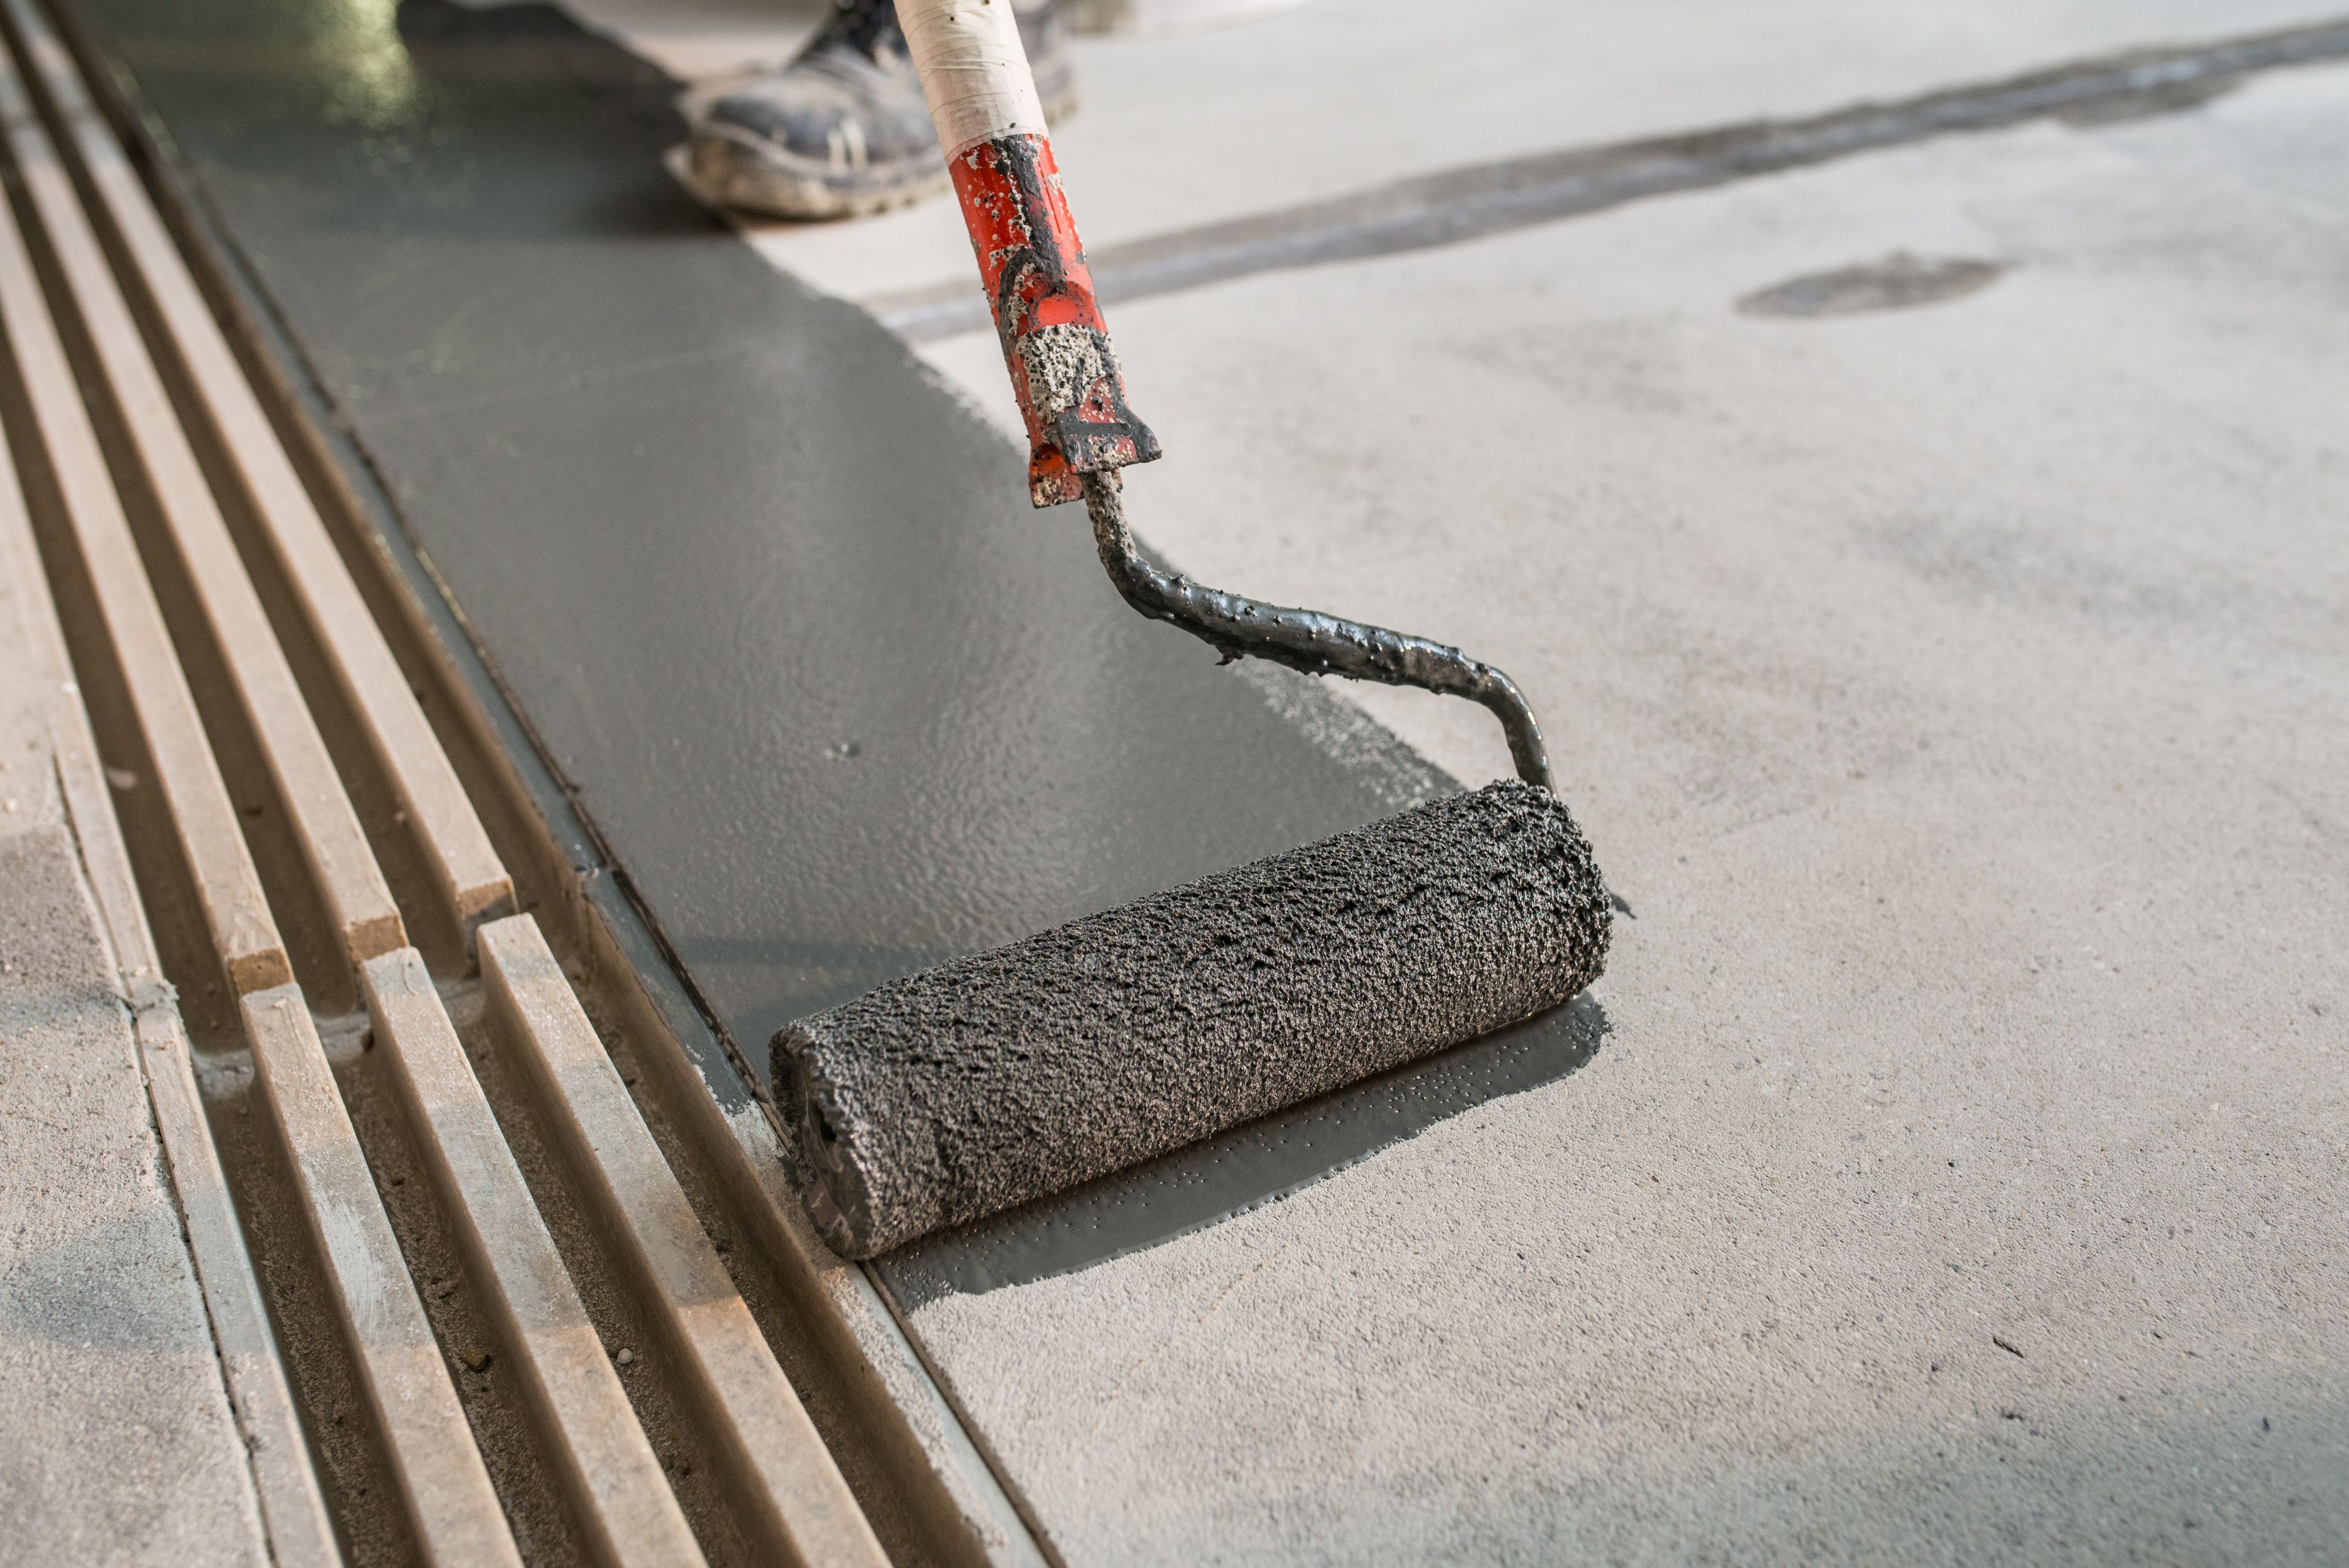
Grouting and Finishing Touches
After all the tiles are set and the adhesive has cured, it's time to grout. Mix the grout according to package instructions and use a grout float to press it into the spaces between the tiles. Wipe away excess grout with a damp sponge, rinsing frequently.
Once your grout is dry, apply a sealant to protect it from moisture and stains. Finally, step back and admire your handiwork—a beautifully tiled space that adds value and aesthetic appeal to your home.