A Comprehensive Guide to Tiling: Transforming Your Gold Coast Home
BA
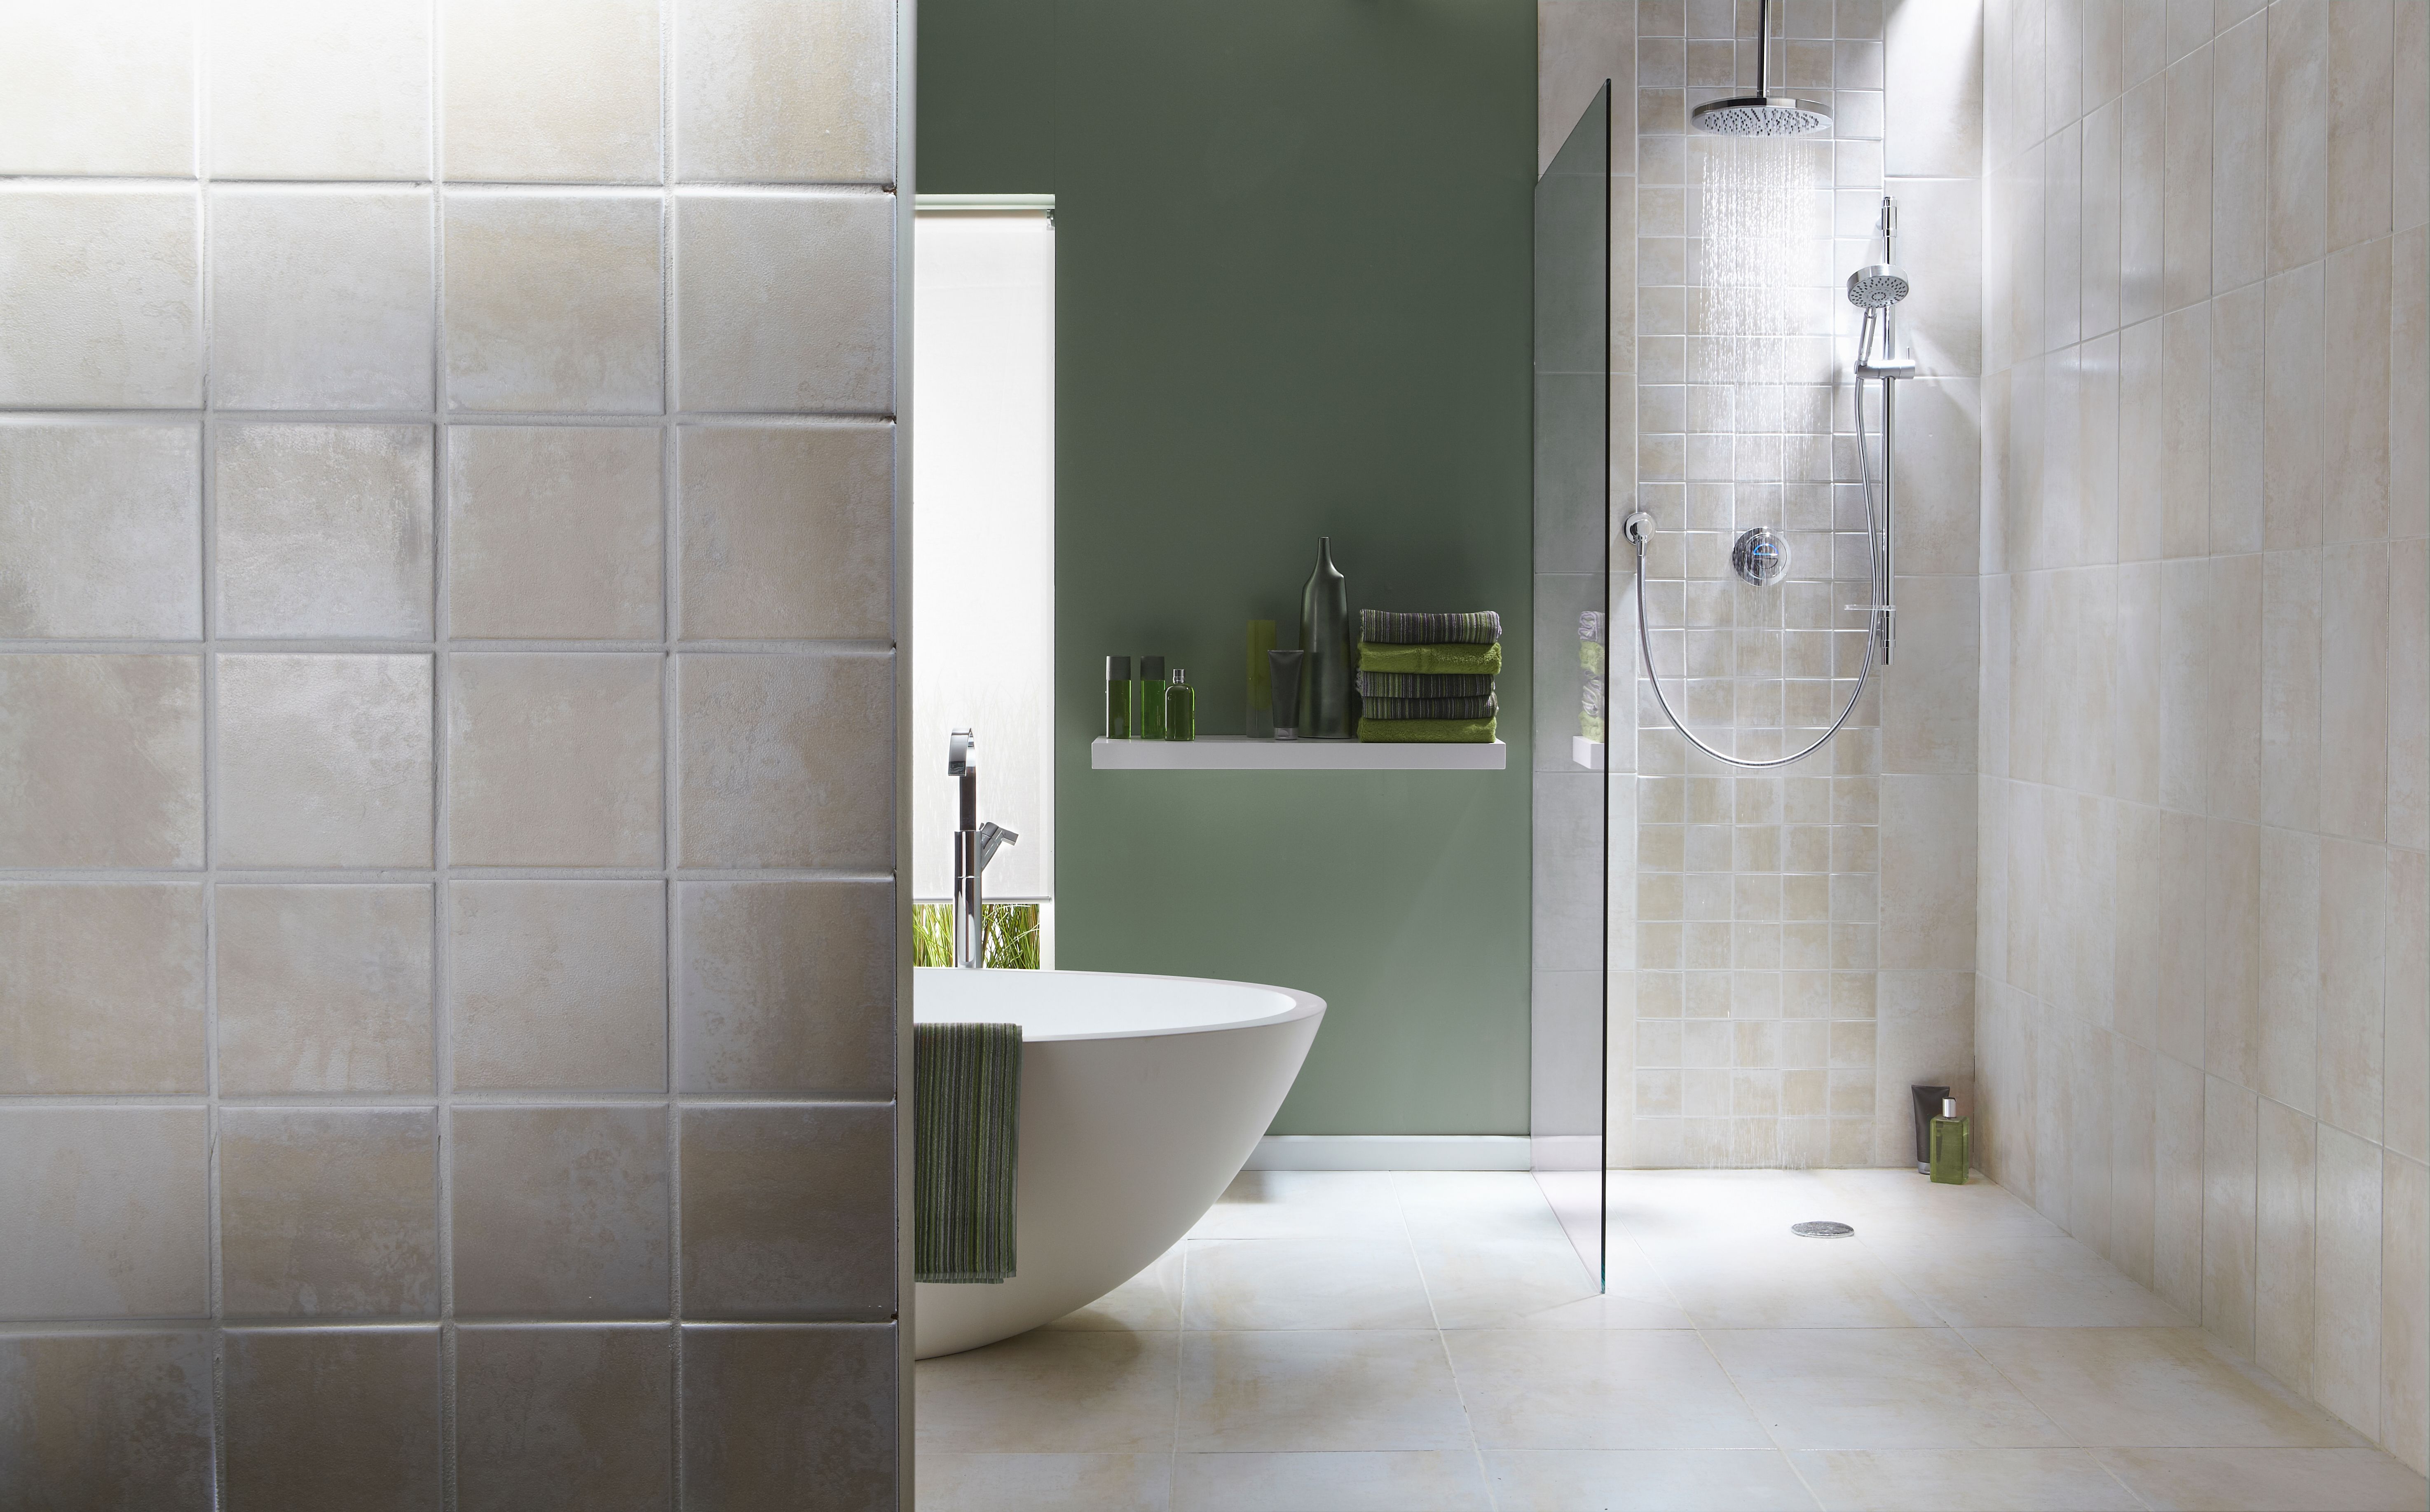
Why Choose Tiling for Your Home?
Tiling is an excellent way to enhance the aesthetics and functionality of any home. On the Gold Coast, where the climate is warm and humid, tiled surfaces offer a practical solution as they are durable, easy to clean, and resistant to moisture. Whether you're renovating your bathroom, kitchen, or living area, tiles can dramatically transform the space.
Beyond their practical benefits, tiles come in a plethora of styles, colors, and textures. This allows homeowners to express their individuality and tailor spaces to their unique tastes. From sleek modern designs to rustic patterns, the possibilities are virtually endless.
Selecting the Right Tiles
Choosing the right tiles for your home involves more than just picking a style you like. Consider factors such as the room's function, foot traffic, and exposure to moisture. For instance, non-slip tiles are essential for wet areas like bathrooms and kitchens to prevent accidents.
It's also important to consider the material of the tiles. Options range from ceramic and porcelain to natural stone and glass. Each material has its own benefits and drawbacks. For example, porcelain tiles are known for their strength and water resistance, making them ideal for both indoor and outdoor use.
Tile Size and Layout
The size and layout of tiles can significantly influence the look of a room. Larger tiles can make small spaces appear bigger by reducing grout lines, while smaller tiles can add intricate detail to a space. The layout pattern, such as herringbone or grid, also adds an additional layer of design.

Preparing Your Surface
Before laying tiles, it's crucial to ensure that the surface is properly prepared. The surface should be clean, dry, and free from any debris. Any uneven areas should be leveled out to prevent tiles from cracking or popping over time.
For those attempting a DIY tile installation, preparing the surface is a key step that should not be overlooked. Proper preparation will ensure longevity and maintain the aesthetic appeal of your tiling project.
Tools and Materials Needed
Having the right tools is essential for a successful tiling project. Basic tools include a tile cutter, trowel, spirit level, spacers, and grout float. Additionally, you'll need adhesive and grout suitable for your chosen tile type.
- Tile Cutter
- Trowel
- Spirit Level
- Spacers
- Grout Float
- Adhesive
- Grout
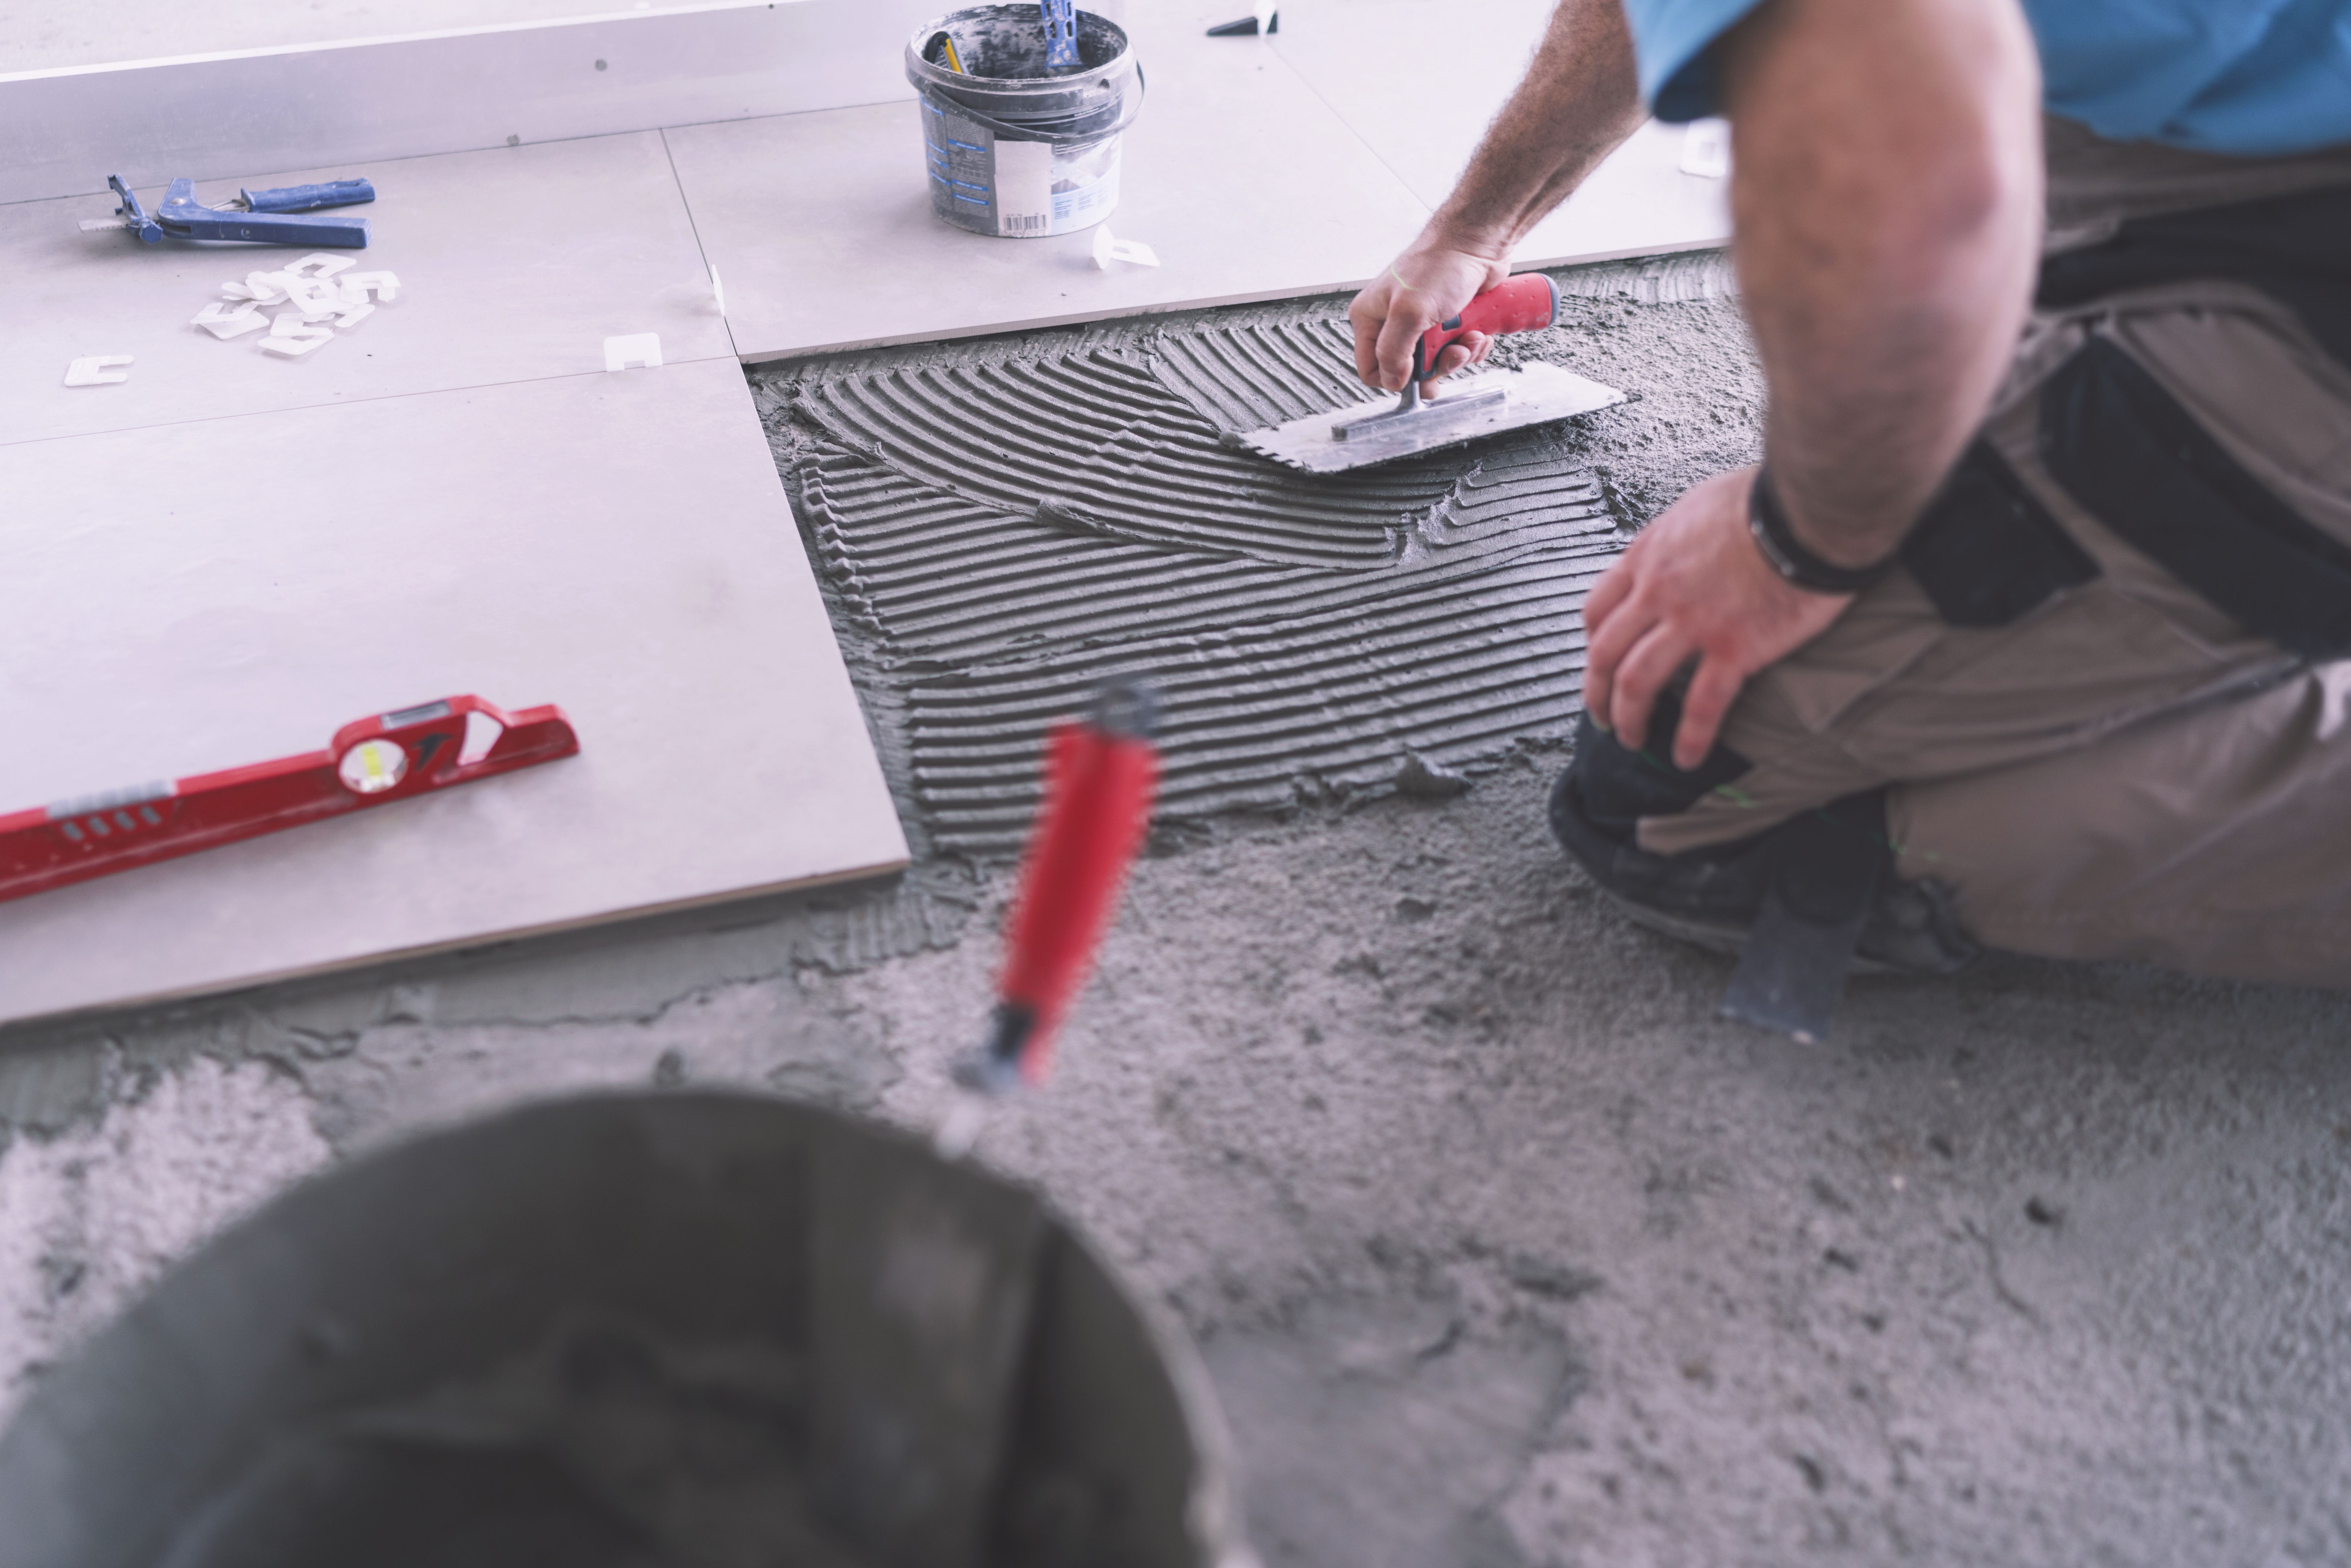
Installation Process
The installation process begins with laying out a few tiles dry to determine the best layout. This step helps in visualizing the final outcome and making any necessary adjustments before applying adhesive.
Once satisfied with the layout, apply adhesive with a trowel and place each tile carefully. Use spacers to maintain even gaps between tiles for grouting later. After laying all tiles, leave them to set according to the adhesive manufacturer's instructions before grouting.
Grouting and Finishing Touches
Grouting is the final step in the tiling process. It involves filling in the gaps between tiles with grout using a grout float. Once applied, wipe away excess grout with a damp sponge to ensure clean lines.
After grouting, allow sufficient time for it to cure before walking on or using the newly tiled area. Adding sealant can provide extra protection against stains and moisture, especially in high-traffic or wet areas.

Maintaining Your Tiled Surfaces
Proper maintenance is essential to keep tiled surfaces looking new for years to come. Regular cleaning with appropriate products will help prevent discoloration and retain their original shine.
Address any chips or cracks promptly to avoid further damage. With proper care, tiled surfaces can last a lifetime while maintaining their beauty and functionality.